For your reference, please find the;
Old survey points drawing here
New survey points drawing here
Note: The survey point layer in Old Survey Points drawing is “GL” and in New Survey Points drawing is “New GL”
You might feel frustrated when you are sure you have imported your entities using a correct drawing scale but still your new survey points do not overlay properly to your old survey points project file. Image below shows an example that might be related to your issue.

First thing that you need to do for this issue is you need to check on the UCS or origin of your CAD file. To do so, open your drawing in ACAD, click on the UCS and go to the Properties panel as per image below.

You will need to set the properties as follows to view the location of your UCS.
UCS icon On: Yes
UCS icon at origin: Yes
UCS per viewport: Yes
Referring to the image below, we can see that the origin of both drawings are totally different and far from each other. Hence, this is the reason why our new survey points do not properly overlay on top of the old survey points in the software.
 UCS of Old Survey Points drawing | 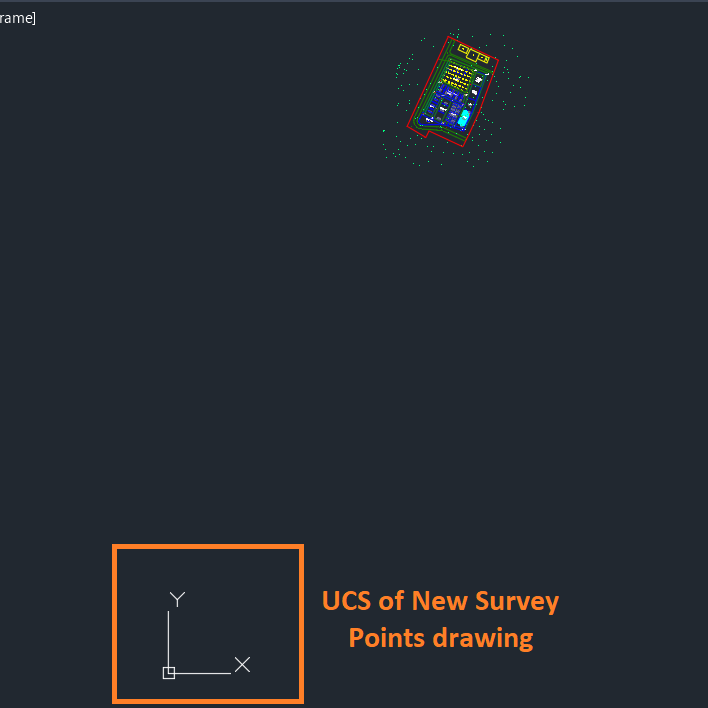 UCS of New Survey Points drawing |
To fix this issue, you can use the “Origin” feature which can be found in “Surveyor Point Import Dialog”. You can go to;
Survey Points & Soil Info > Import Manage > ACAD/Text/LiDAR > Choose your drawing file
In this “Surveyor Point Import Dialog”, you can find the Origin section at the bottom.

To use this feature, you will first need to click on the “Select…” button and then snap on the origin as per our Old Survey Points drawing.

Now, both surveyor points groups have been superimposed correctly as per image below.

You can also move your surveyor point in the input screen using translation and by point features.

I’m the Benevolent Dictator for Life for MiTS Software cum Editor of this website. Read more here.
You can also contact me at soonhui@mes100.com


