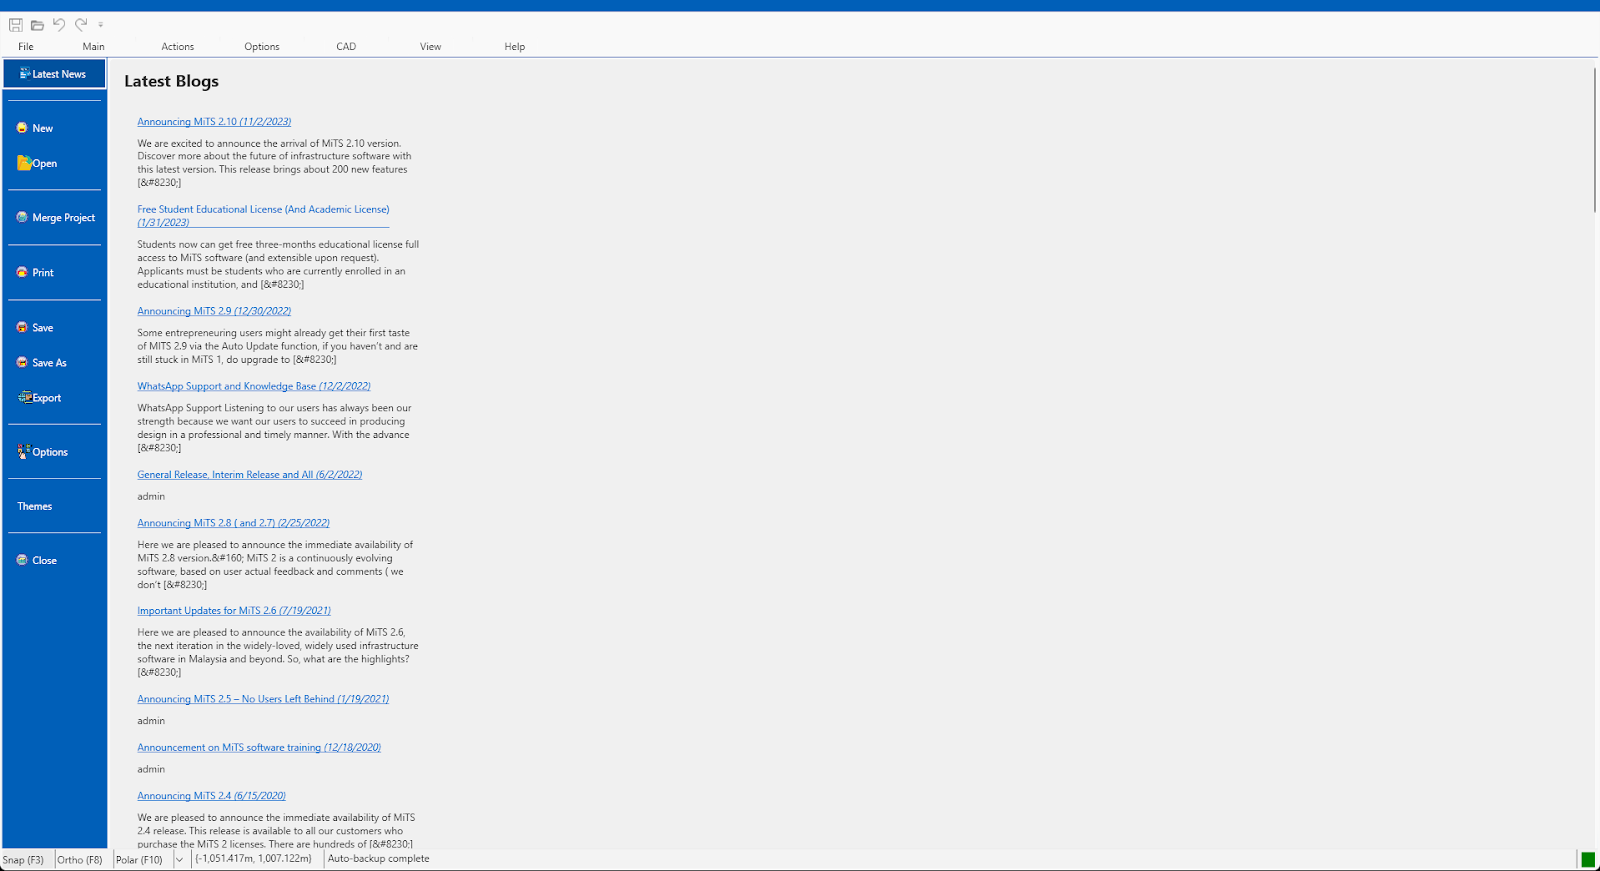
In MiTS 3, we introduce a new “Welcome screen”, which opens up when the user launches the software. This is also known as BackStage control which MS Office and other modern Windows applications adopt.
BackStage Tab #
Latest News #
You may find the latest news about MiTS software
New #
To create a new project. Click ‘New’ or press [CTRL] + [N]
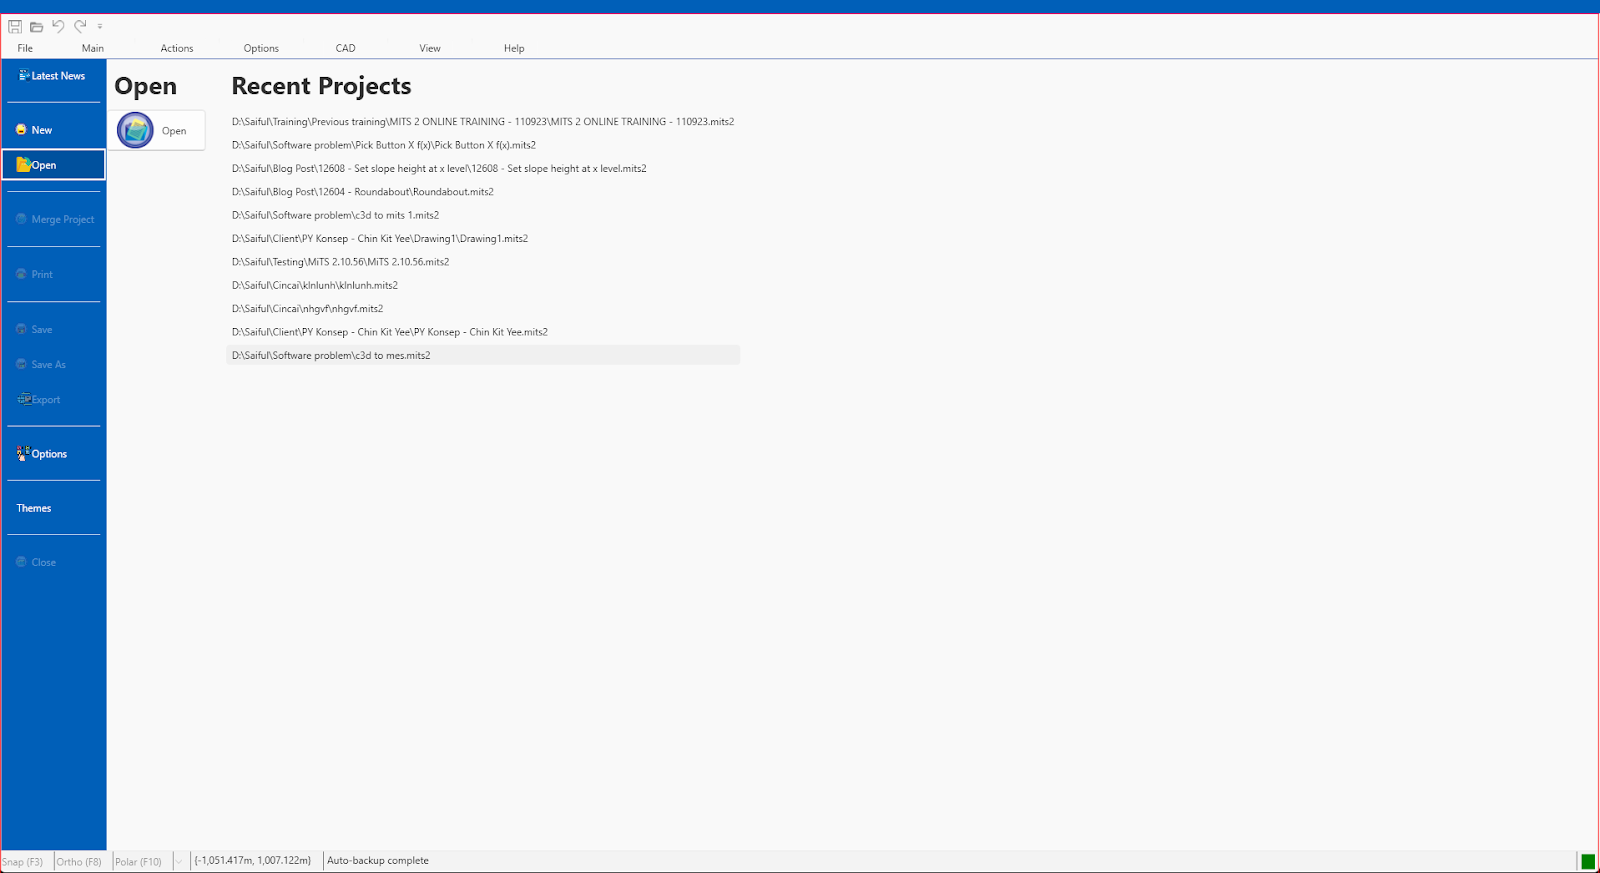
Open #
To open a recent project in MiTS. Click ‘Open’ or press [CTRL] + [O]
Merge Project #
To merge multiple project files into one, allowing several users to collaborate on different project files simultaneously and then merge them together later.
Print #
To print the input/output screen that you are currently on. Click ‘Print’ or press [CTRL] + [P]
Take for example, for drawing screen, this is what you will get
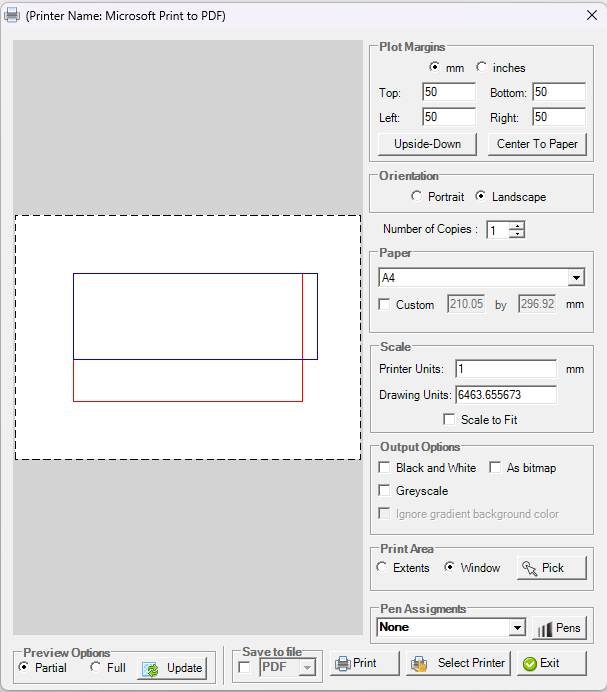
Plot Margins – This enables you to either centre the plot within the plot area, rather than starting from the origin, or to input a specific amount of space for offsetting the plot
Orientation – Appearance of the drawing whether horizontally or vertically
Number of Copies – Number of prints desired
Paper – You can select the paper size or customize it according to your needs. Common sizes like A4, A3, Letter, Legal, etc., are available
Scale – If you wish to print with a custom scale from MiTS instead of fitting it to their paper, make sure to deselect the “Scale to Fit” option
Output Options – Colour options for prints
Print Area – Here is where you must make your decision regarding what you want to print from your drawing. If you haven’t already set the visibility of the layers you wish to print or hide, you should do so first. Then, you can choose from these three options: Extents, Window, or Pick. Assuming you have selected the “Scale to Fit” option, this is what will be printed from your chosen plot area:
- Extents: Cover the print area with all the visible objects in the drawing
- Window: Print the content displayed on the screen, including any empty or blank areas
- Pick: This enables you to create a window by dragging it around any specific portion of your drawing that you wish to print
Pen Assignments – Allows you to control how line weights are printed. It helps you manage the line weight properties of objects in your drawing
Preview Options – Options here allow you to see a preview of how your drawing will look when printed
Save to file – You can save your drawing in different types of files if you wish to not print your drawing yet
Print – Once you have configured all your print settings, clicking this button will send the drawing to the selected printer with the specified settings
Selected Printer – Here, you can select the printer device to use for printing your drawing
Exit – If you change your mind or want to exit the Print dialogue without printing, you can use this button to cancel the print operation
Save #
To save the current file. Use this option if you are saving your project file for the first time. click ‘Save’ or press [CTRL] + [S]
Save As #
To save the current file under a new name. Can also use this option for duplication
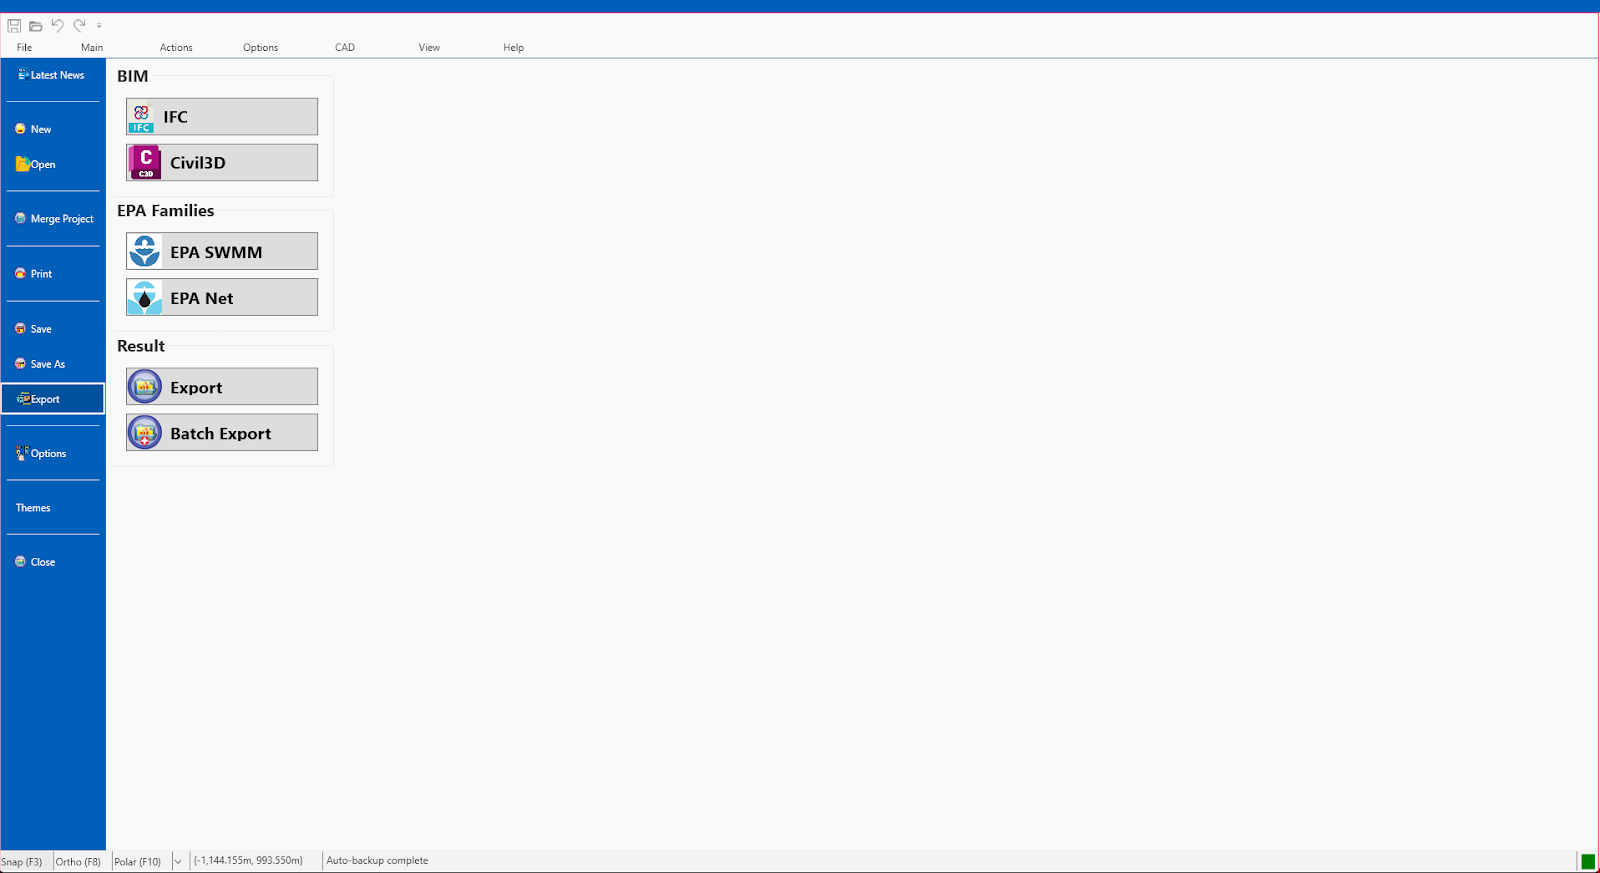
Export #
To export the file into different types of file
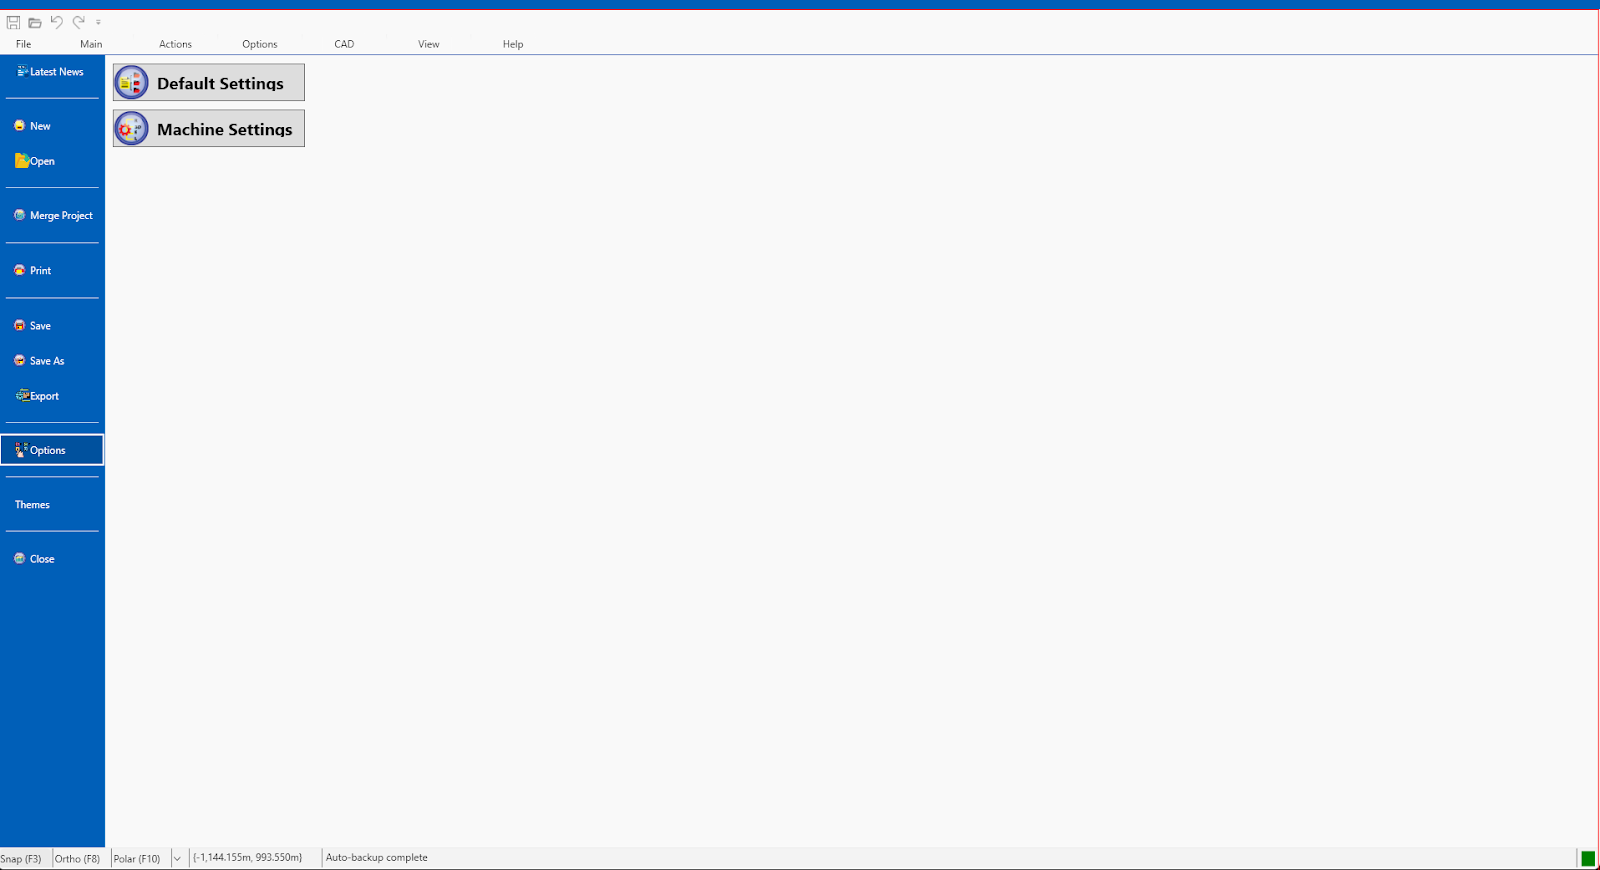
Options #
To change/modify software settings
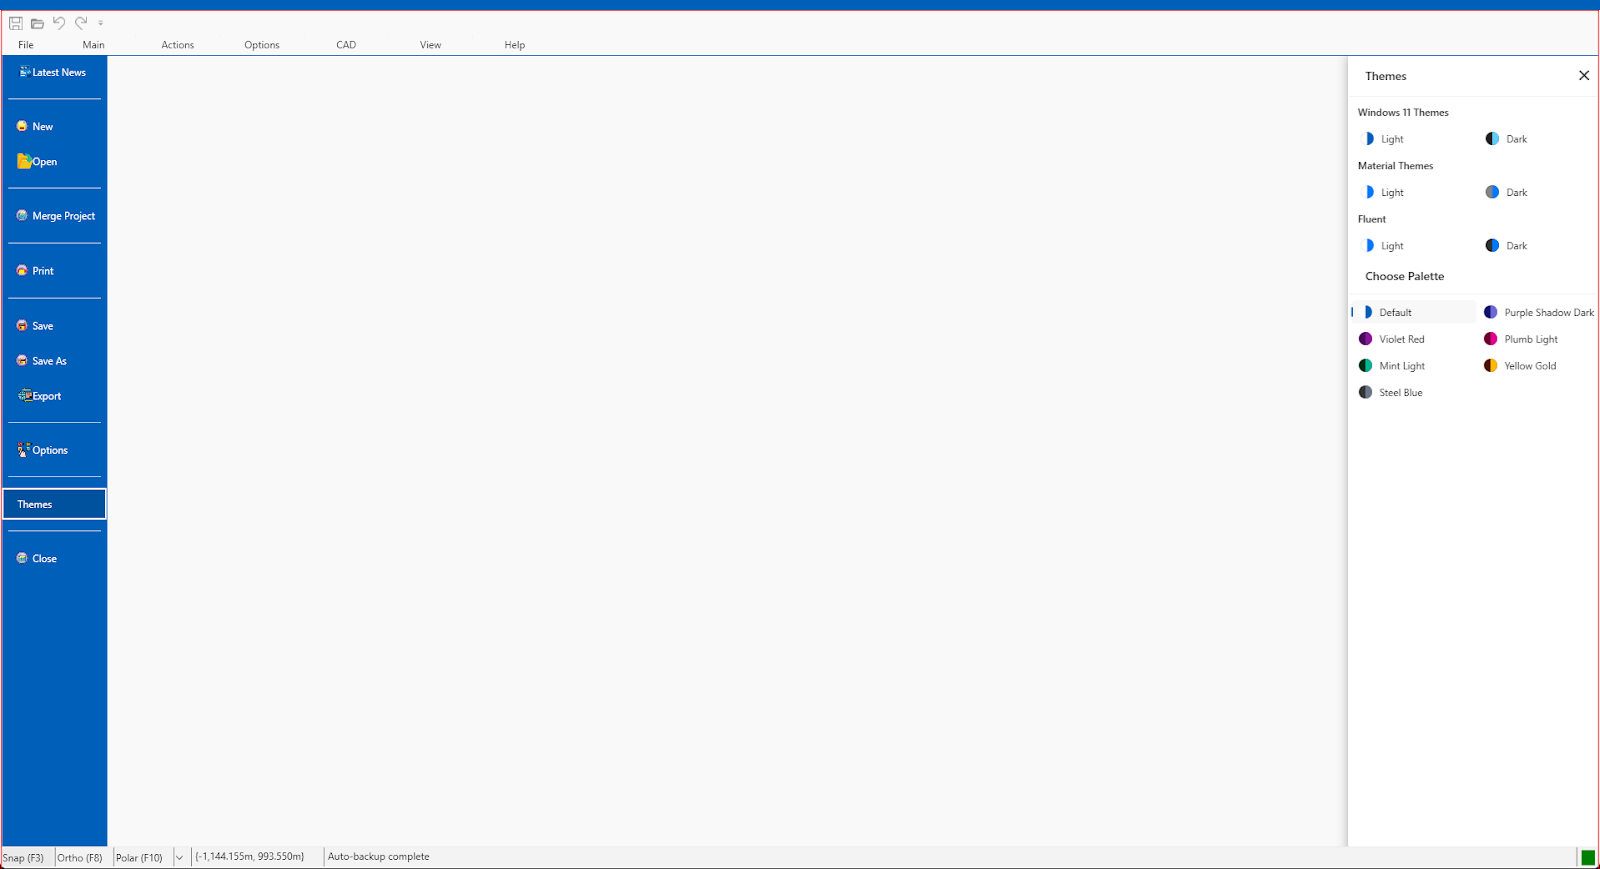
Themes #
To change the appearance/display of the software
Close #
To close the current project

I’m the Benevolent Dictator for Life for MiTS Software cum Editor of this website. Read more here.
You can also contact me at soonhui@mes100.com


